Why do we call it “Spring Cleaning”?
Have you ever wondered why Spring is the season most often associated with cleaning? There are a lot of theories but one of the most practical is the idea that Winter is often associated with a build up of in-home pollution. That includes dust mites and dust as well as soot, soil, and surface contamination. Yuck!
Happily, Spring is the time of year we can open windows and doors, cart away the clultter and refresh our nest, top to bottom. By using the following Spring Cleaning Checklist you can take on the most important tasks to insure a healthy and welcoming home.
What does it take to be Spring Cleaning Ready?

When it comes to Spring Cleaning, preparation is half the battle – and yes, it is a battle. A whole-house refresh requires reinforcements, provisions, weapons and a broad “plan of attack.” What does that mean, in cleaning terms? Start by gathering up friends and family who will help you with the work. Then, schedule your cleaning week (or month) when your besties can be there.
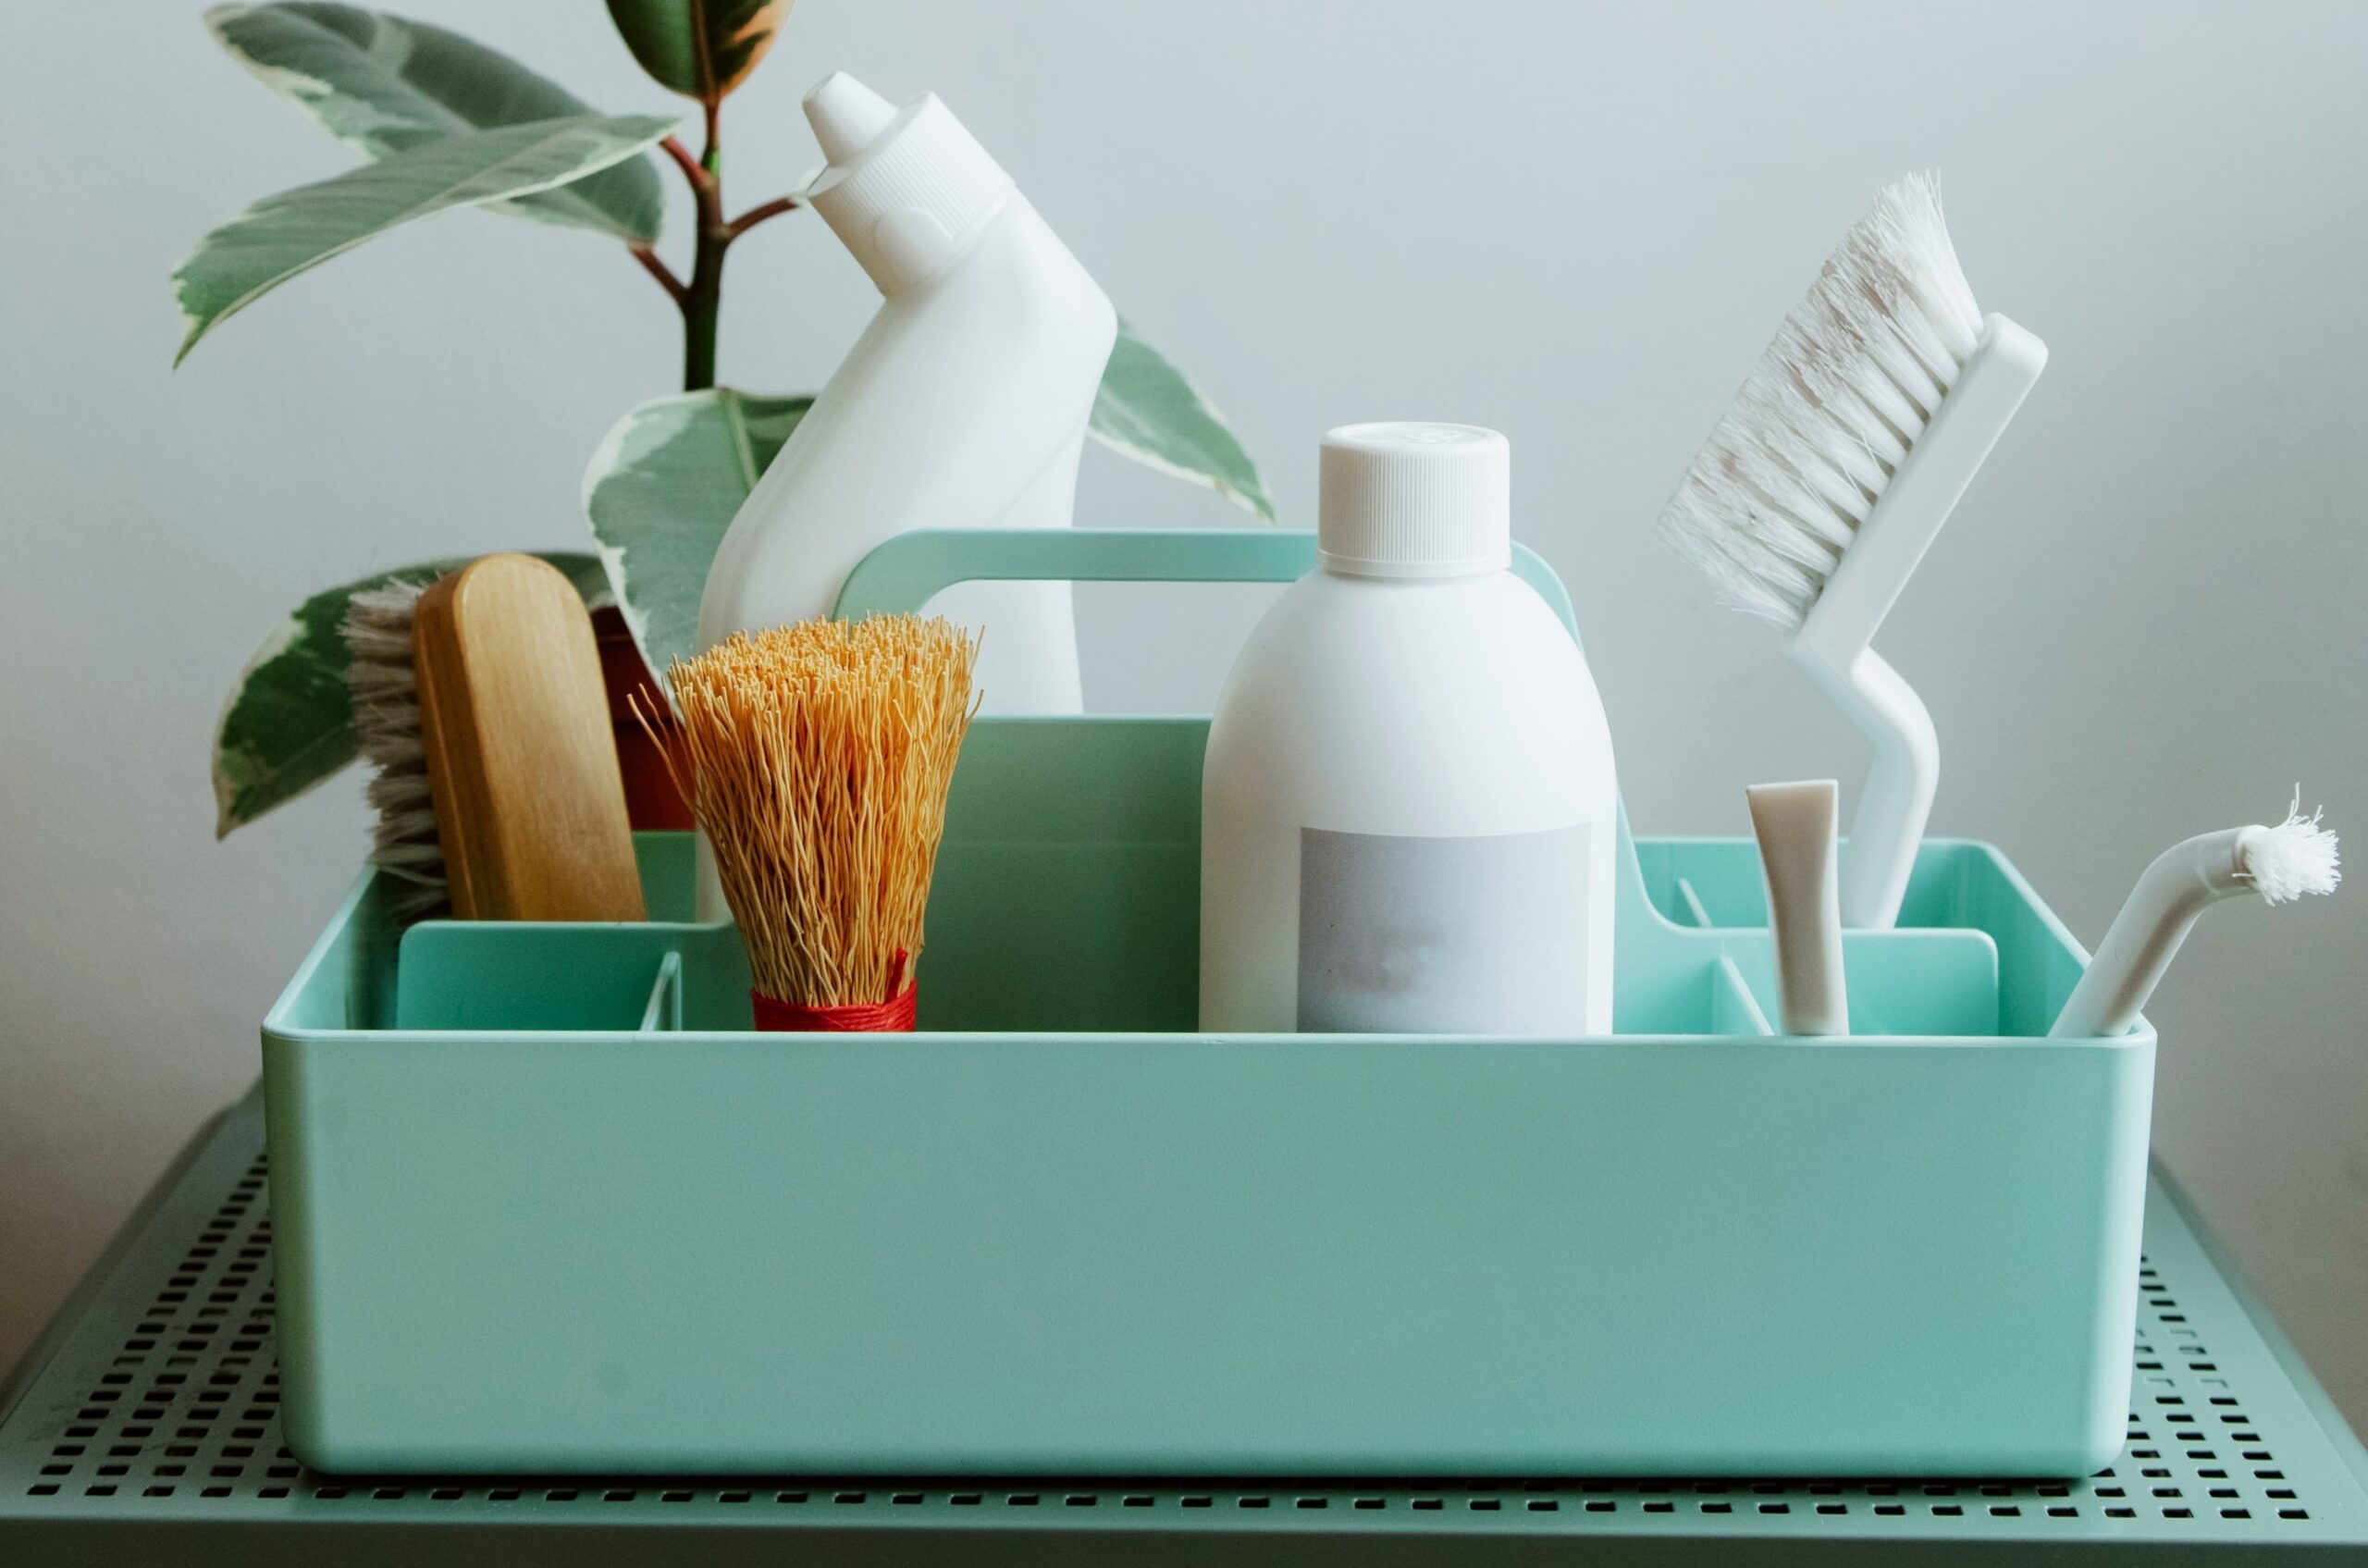
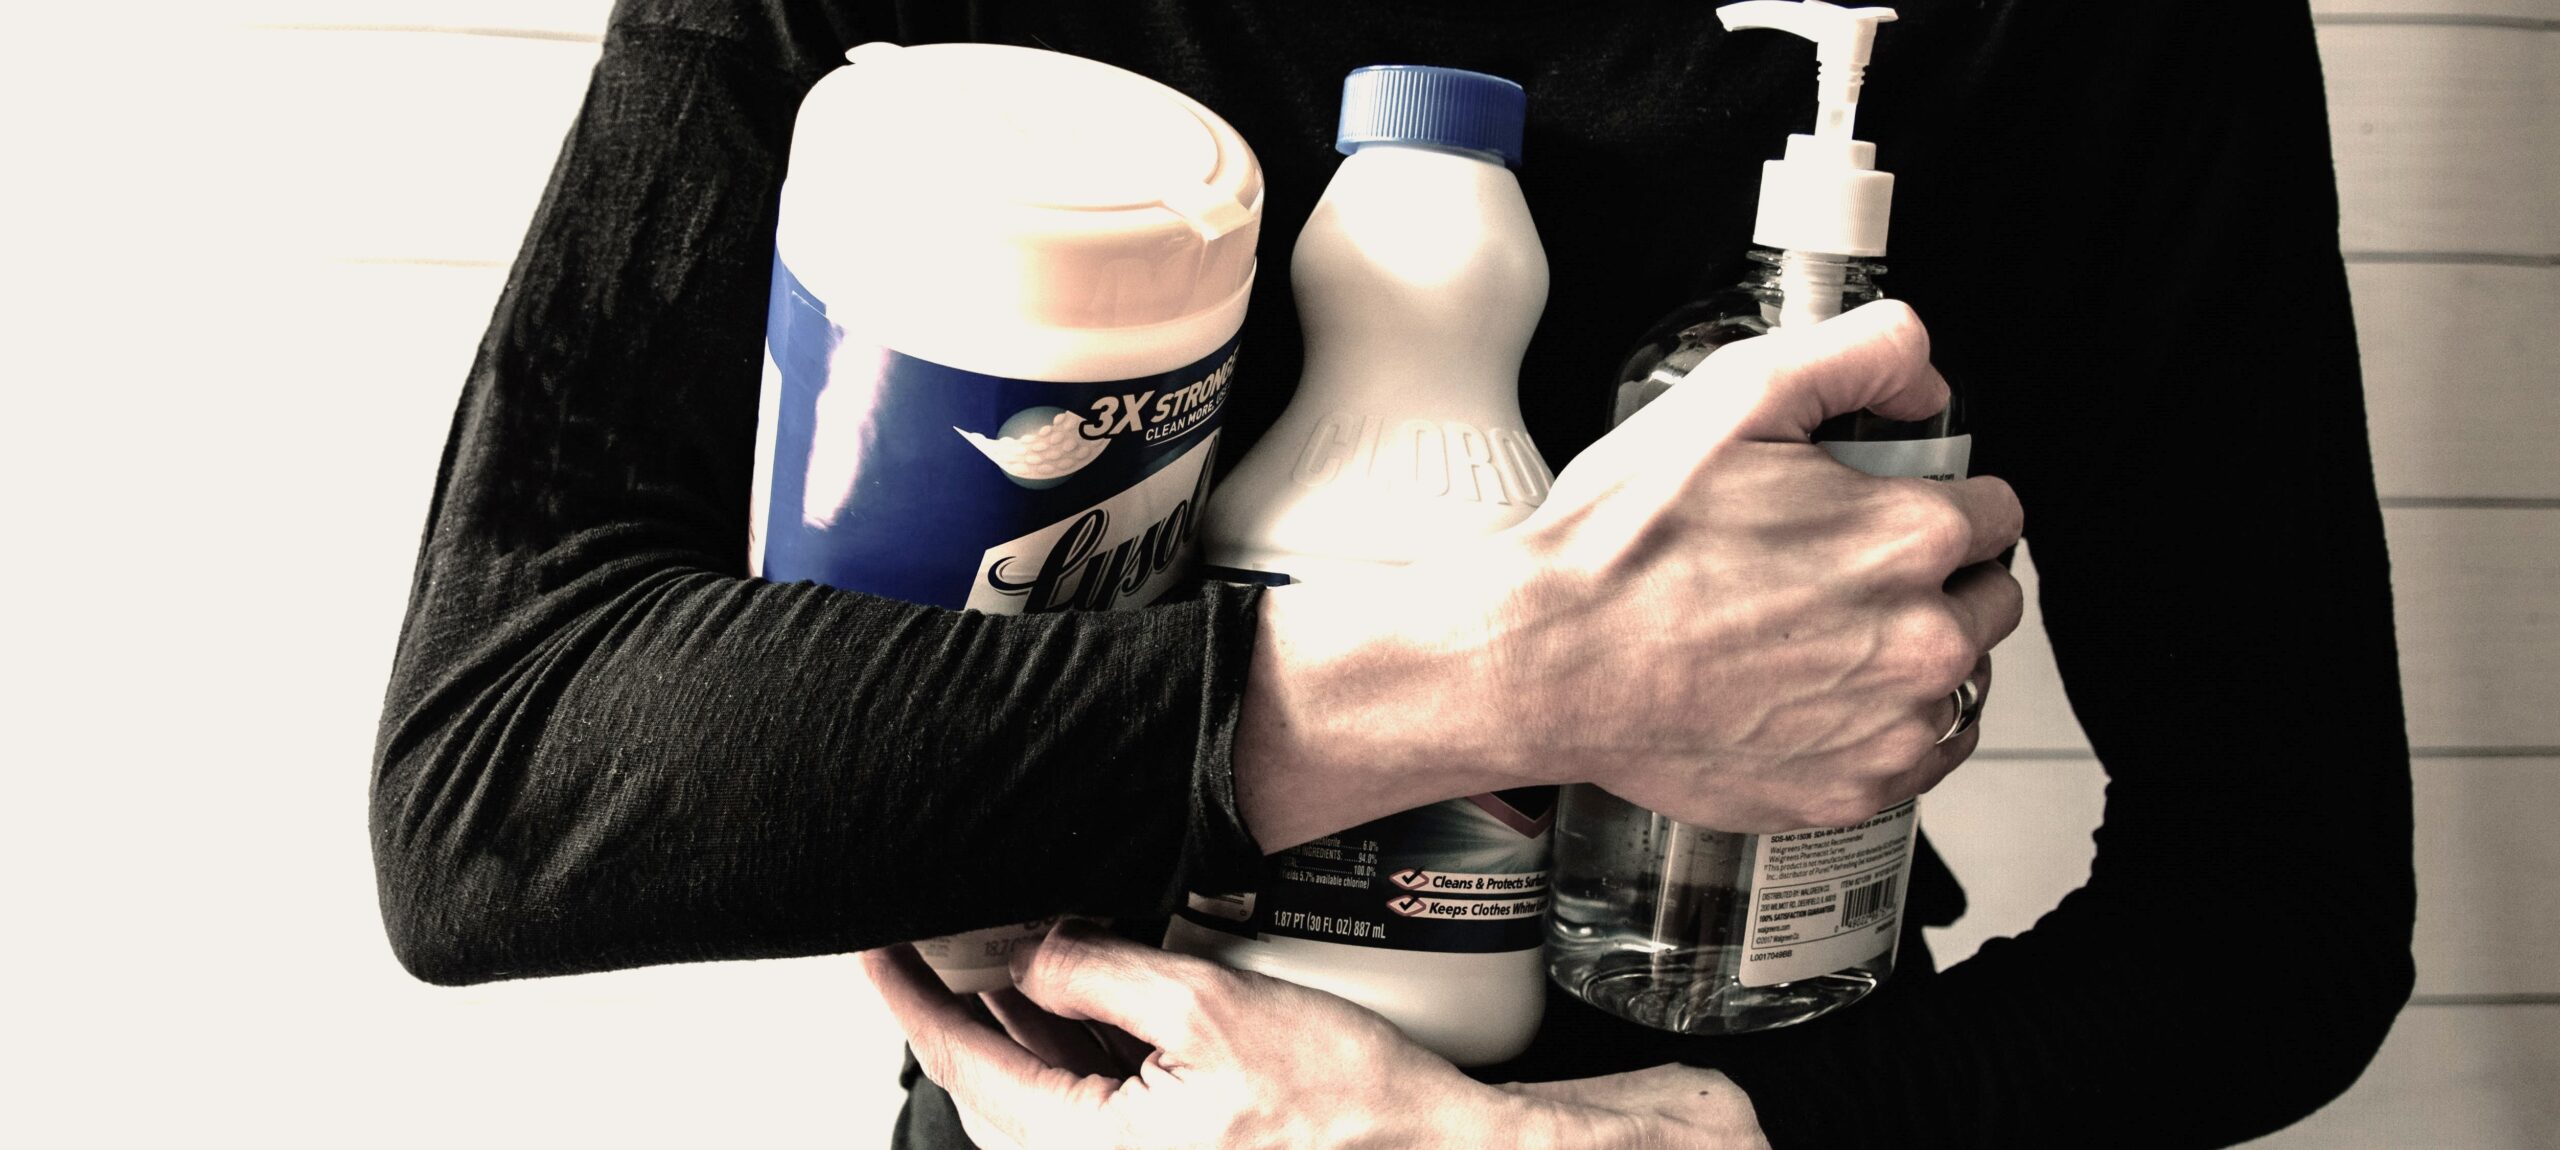
Before embarking on your Spring Cleaning project, you want to pull together the tools and products you’ll need to get the job done. Make sure everthing from your vacuum to your trusty microfiber dust cloths are prepared for the project. Keep in mind too, it’s helpful to have a wide range of specialized cleaning products close at hand. From window glass, to stone countertops, to stainless steel appliances, be sure to stock the best cleaner for each surface. Choose from gentle commercial products or whip up your own homemade cleaning alternatives.
Ultimately, you want to have everything ready and waiting for the big event. There is nothing as frustrating as loosing momentum due to an MIA tool or product. This cleaning kit list will make sure you are prepared for Spring Cleaning success.
By starting with a checklist like the one below, you have the plan of attack necessary to work efficiently and effectively. Why work top to bottom? Because you don’t want to find yourself dusting the ceiling fan after you’ve vacuumed the floor. After all, where do you think that dust is going to end up?
However, a successful “Hi-Low Strategy” insures that you only have to make one pass when cleaning that top, middle or bottom-zone item. Our Spring Cleaning Checklist is set up to use the inside-out and up-to-down processes that get the best payoff for all your hard work.
The Best Spring-Cleaning Checklist starts and ends with Whole-House tasks
1 DE-CLUTTER BEFORE YOU CLEAN (all zones)
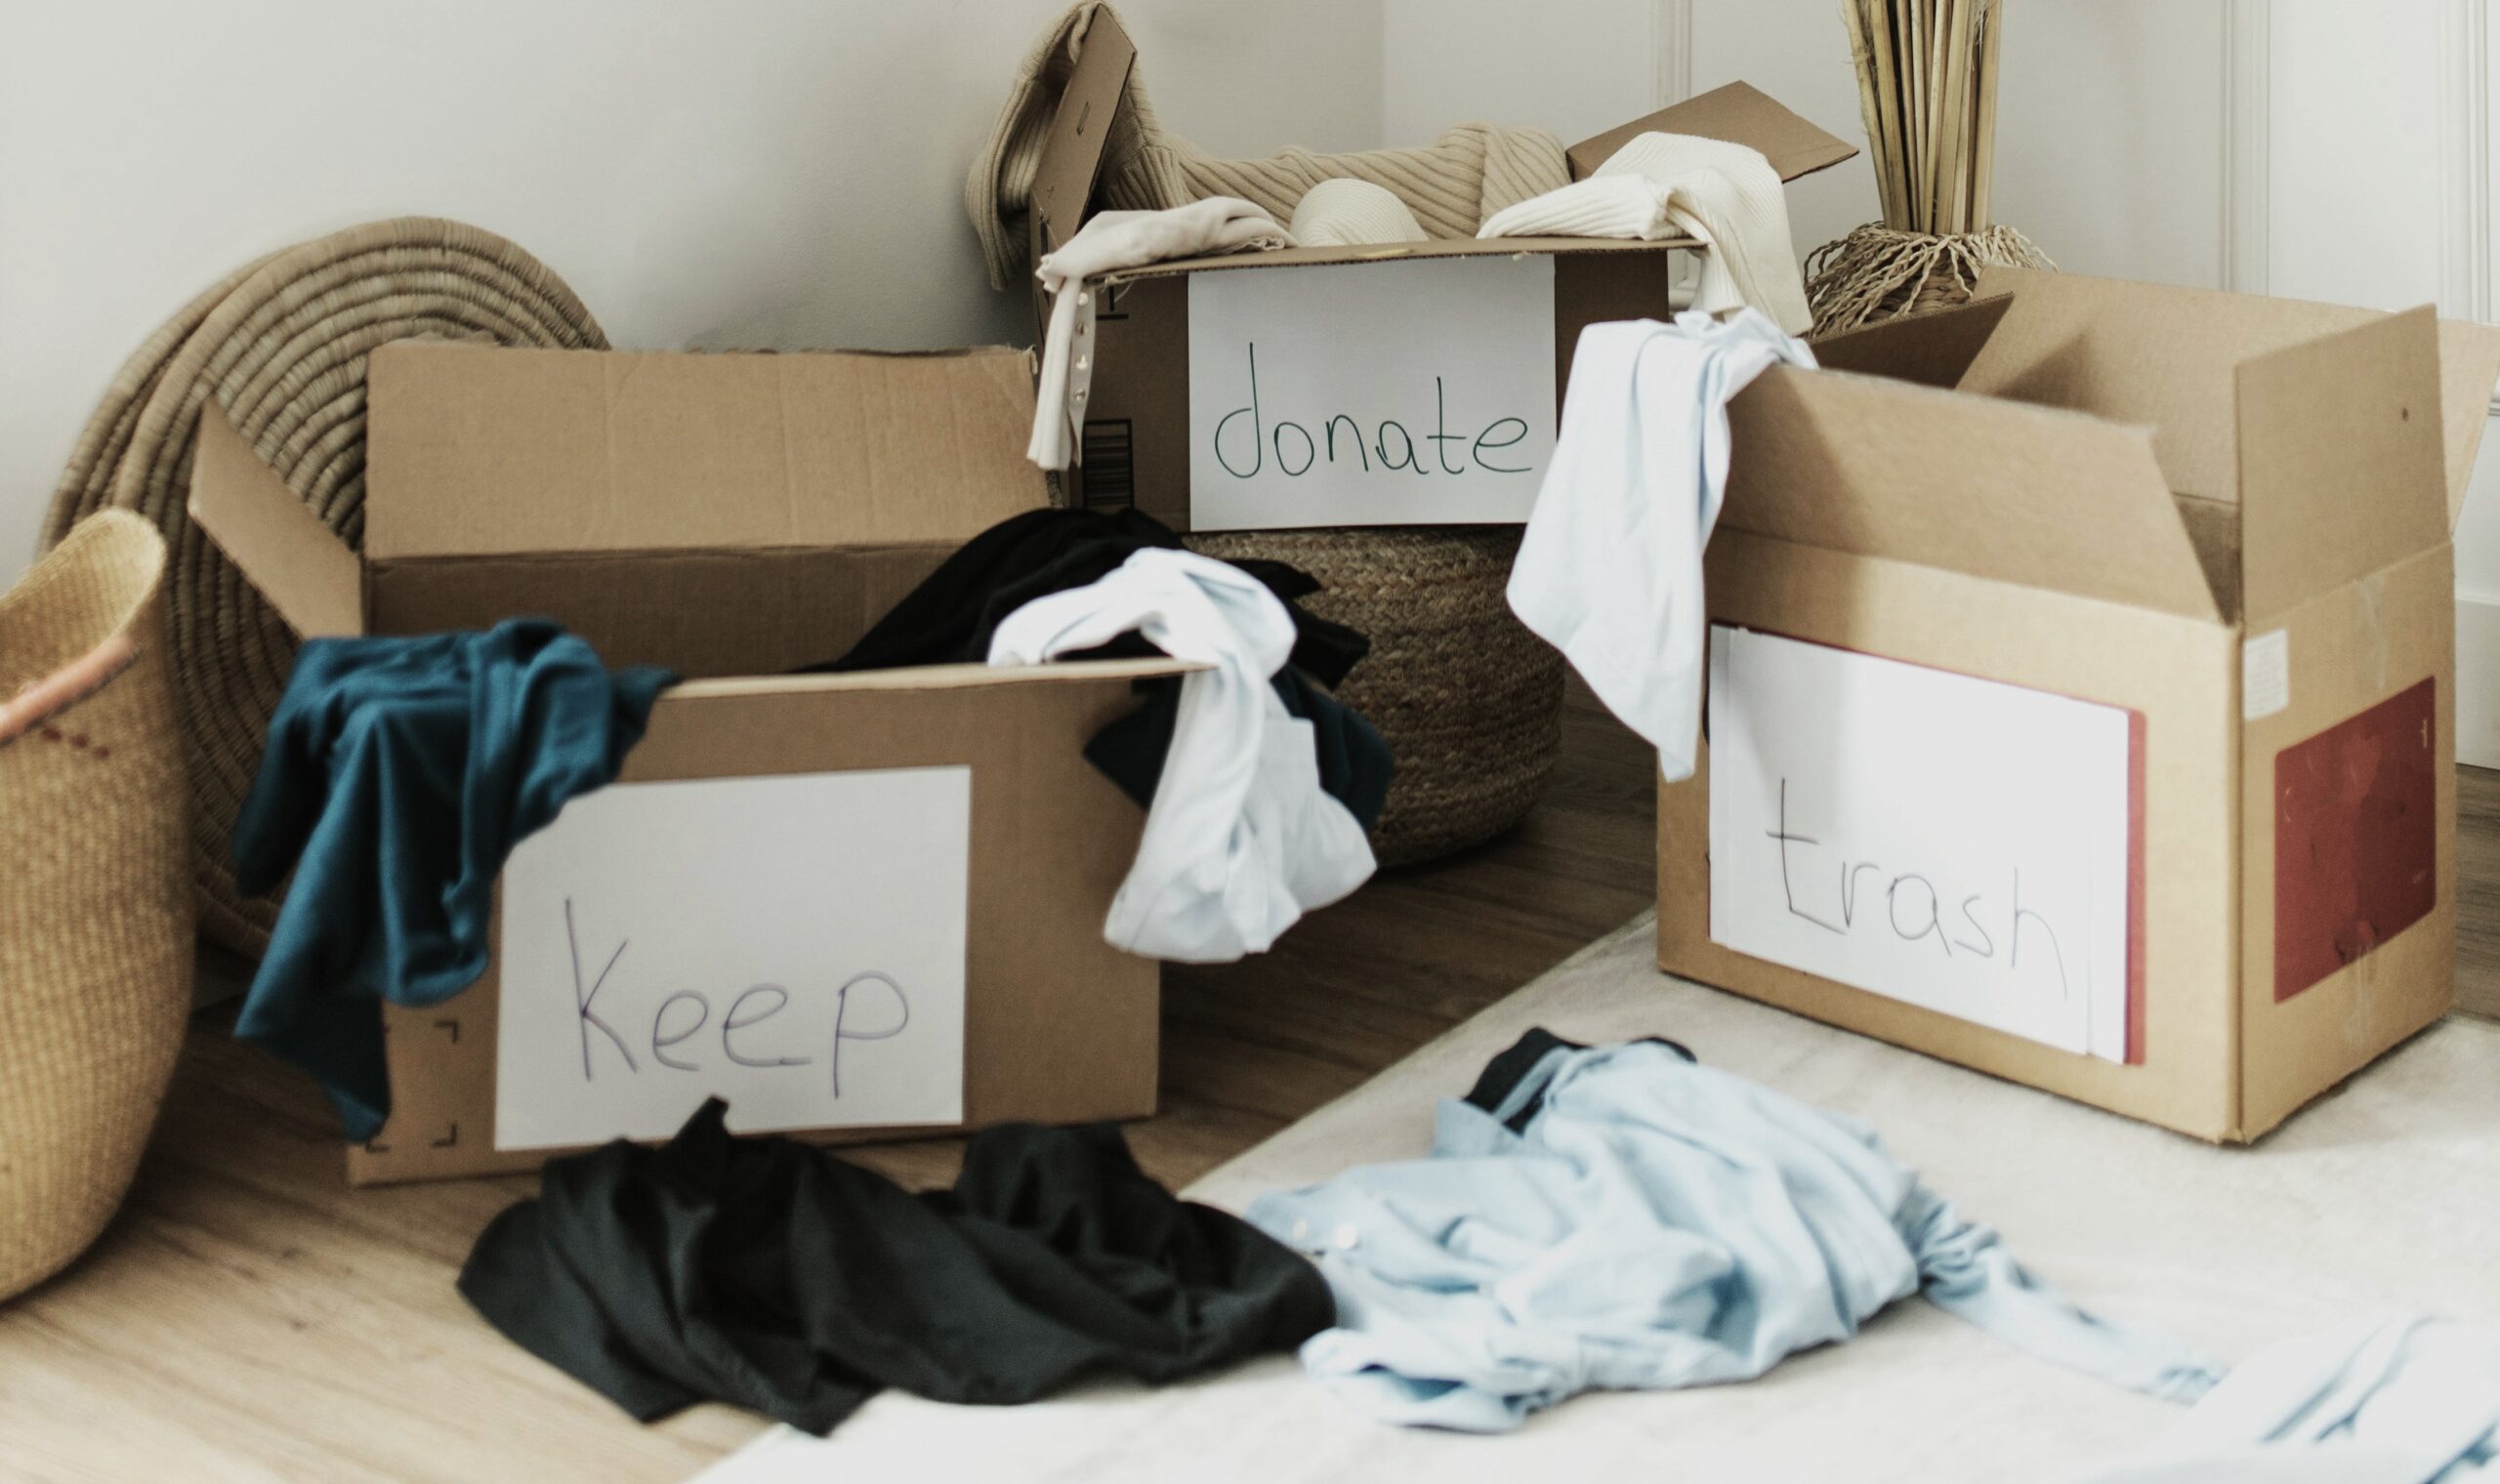
Editing your household possessions not only lays the groundwork for deep cleaning, it also provides peace of mind. This is a great example of the inside-out strategy. First off, start inside your closets, junk drawers and cabinets – any storage areas or drop zones where stuff piles up.
Secondly, sort items into three categories: to donate, to trash, or to tidy and put away. If there is nowhere to put something, that’s a good indication that you need to discard it or to discard something else and make room for your keeper. Ultimately, if your Spring Cleaning accomplishes nothing else, a good de-cluttering will make your home more livable. So whatever you do, prioritize this task.
2 Attack Your Architecture (All Zones)
A house is like a big box full of smaller boxes. And most of those smaller boxes – let’s call them ‘rooms’ – have six sides. Cleaning architectural elements like ceiling corners, crown molding, walls and windows, is not an everyday project. To make a thorough inventory of to-do’s, walk through each room and scan the space, top to bottom. Plan to break out the ladder and dust away the cobwebs. Use gentle cleaners to wipe down trim and baseboards.
You may even want to tackle your windows, inside and out. That can be a good task to share with the pros. After all, they have the equipment and the safety training to do the work. Delay any floor care til the end of your Spring Cleaning. That will keep you from having to re-do the most abused surfaces in your home.
3. Heads Up (Top Zones)
While you have that ladder out, take a closer look at your light fixtures, ceiling fans, exhaust fans and window treatments. Chances are, all of these items are coated with dust and sticky residues. This is where a dusting tool with an extended handle and a cannister vacuum with an upholstery tool can make short work of your long-reach efforts. A microfiber cloth and an all-purpose cleaner (white vinegar is a favorite choice) can do wonders.
Still have a face mask lying around? You might want to wear it for these top-zone tasks. Otherwise, you’re likely to get a face full of airborn contaminants. Spring is also a good time to replace blown bulbs. Be sure to put safety first. Use a ladder in good repair and, ideally, have someone on site who can hold it steady.
Spring Cleaning Checklist Focus Area 1 – The Kitchen

4) Tucked Away (All Zones)
Cleaning your pantry and cabinets is a great opportunity to use the inside-out strategy and a perfect task for your Spring Cleaning Checklist. For the best results, empty each storage area and wipe down interiors. Put down shelf liners or paper towels to keep sticky rings and dust from building up on shelves going forward. When you move items back into the pantry and cabinets, make sure to check expiration dates. Cull any foodstuffs you won’t use. Check plates and glasses for chips or discoloration. Inventory and re-organize contents so items are easier to see and find.
5) Splash-tastic Surfaces (Middle Zones)
Kitchen “wet zones” see a lot of wear and tear. Make sure you start with the right cleaning supplies for your sink and counter tops. For example, a ceramic sink needs different care than a stainless steel one. So you want to take care when selecting cleaning tools and solutions. Pay particular attention to the splash area, including your backsplash. Clean around the faucet and handles too.

Some cleaning experts suggest taking apart the faucet nozzle to clean hard water scale and insure best water flow. Others suggest filling a small plastic bag with half white vinegar and half water, tie it over the nozzle and leave it in place for an hour. Afterwards, just blast the hot water to get rid of any remaining residue.
Another hard-working surface is your kitchen countertop. From butcher block to quartz to marble, countertops require sensitive and targeted cleaning strategies. Avoid any cleaning solution with ‘scrubbing’ qualities. Above all, steer clear of using acidic cleaners like vinegar or lemon juice on stone. Unfortunately, these leave behind permanent damage. Instead, aim for stone-friendly solutions and soft sponges or microfiber cloths.
6. A Few Words about Kitchen Appliances (All Zones)
A kitchen is filled with hard-working appliances. Happily, these can be cleaned inside to out, given the right tools and products. Start with the refridgerator and proceed just like you cleaned your pantry. Empty the appliance then wipe down the interior. It is worth the extra effort to pull out removable shelves and storage boxes and soak them in a sink full of soapy water. Next, wipe the front of the appliance and vacuum the vent and coils. When you re-stock the fridge, check for expiration dates. If in doubt, toss.
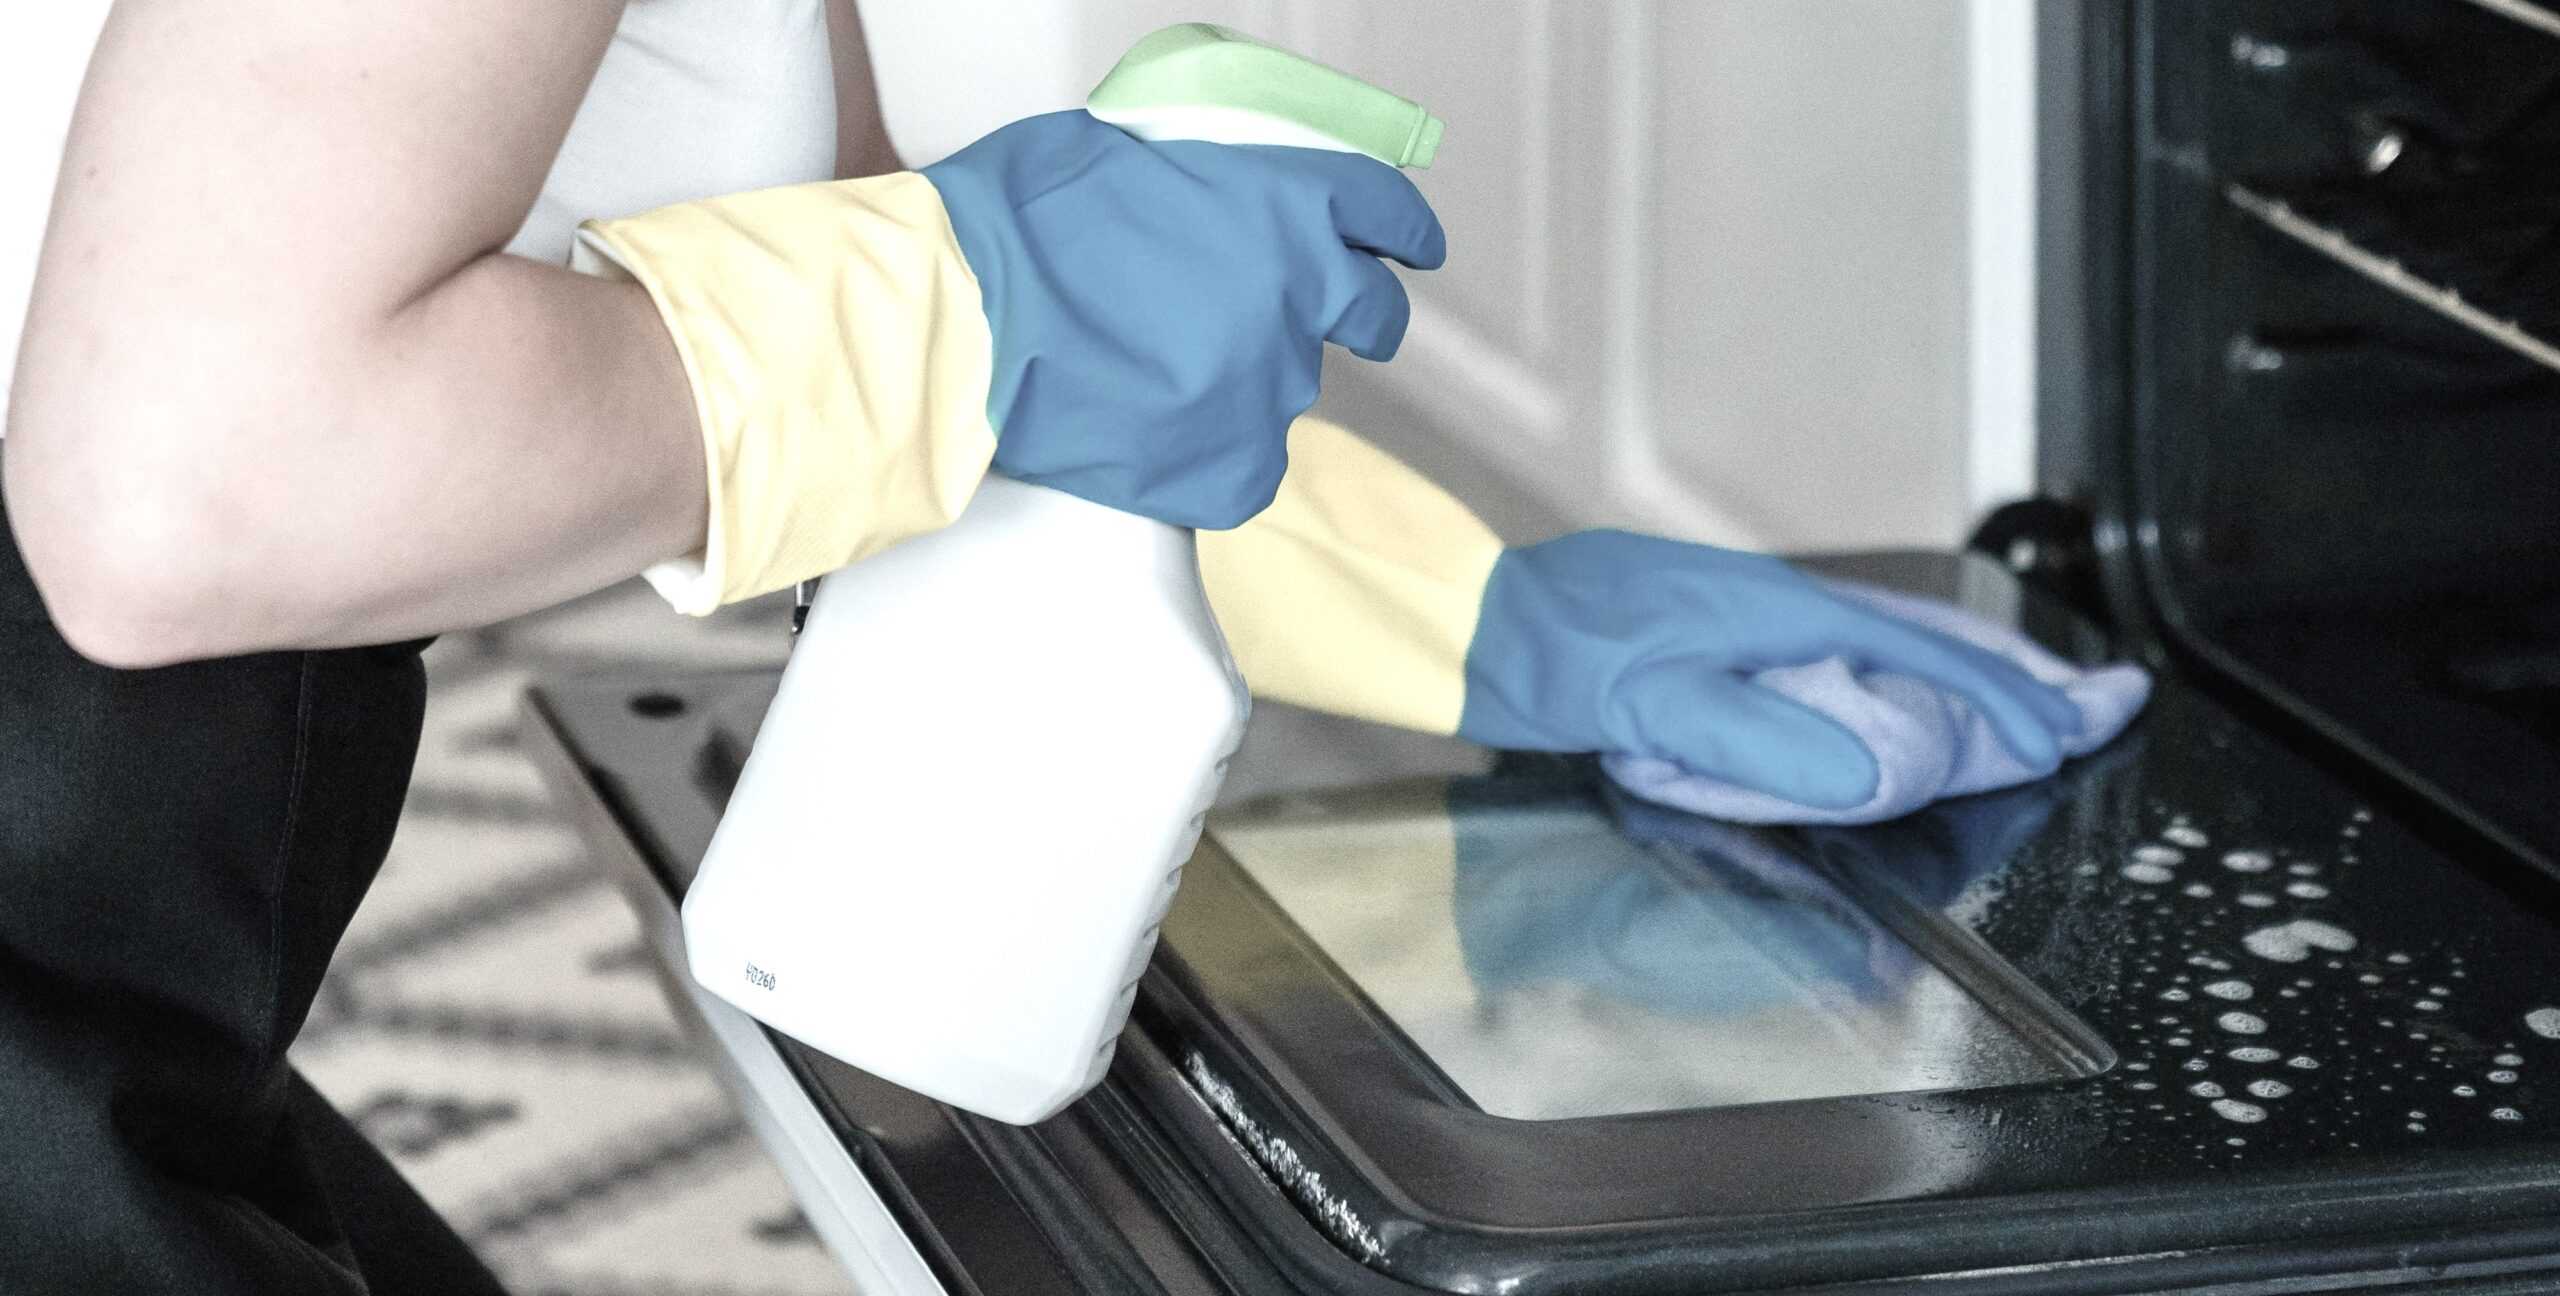
The cooking appliances need different types of cleaning, depending on the surface. However, there are some strategies to avoid. For instance, most safety experts suggest you avoid the self-cleaning function on your oven as it can be ineffective at best and dangerous at worst. Furthermore, some commercial cleaners put off strong fumes and can cause injury to eyes and skin. Instead, opt for natural and simple. A little more elbow grease will remove most of the baked-on grunge. And the oven door and window need different treatment than the enameled surfaces. Find an oven liner to corral future splatters and spills.
Lastly, don’t forget the little details. Soak the removable items of regularly used small appliances. Tap crumbs out of toasters. Wipe the exteriors of big and small items. Clean out the filter in your dishwasher and run a dishwasher cleaner solution. Rinse out the trash can.
Spring Cleaning Checklist Focus 2 – The Bathroom
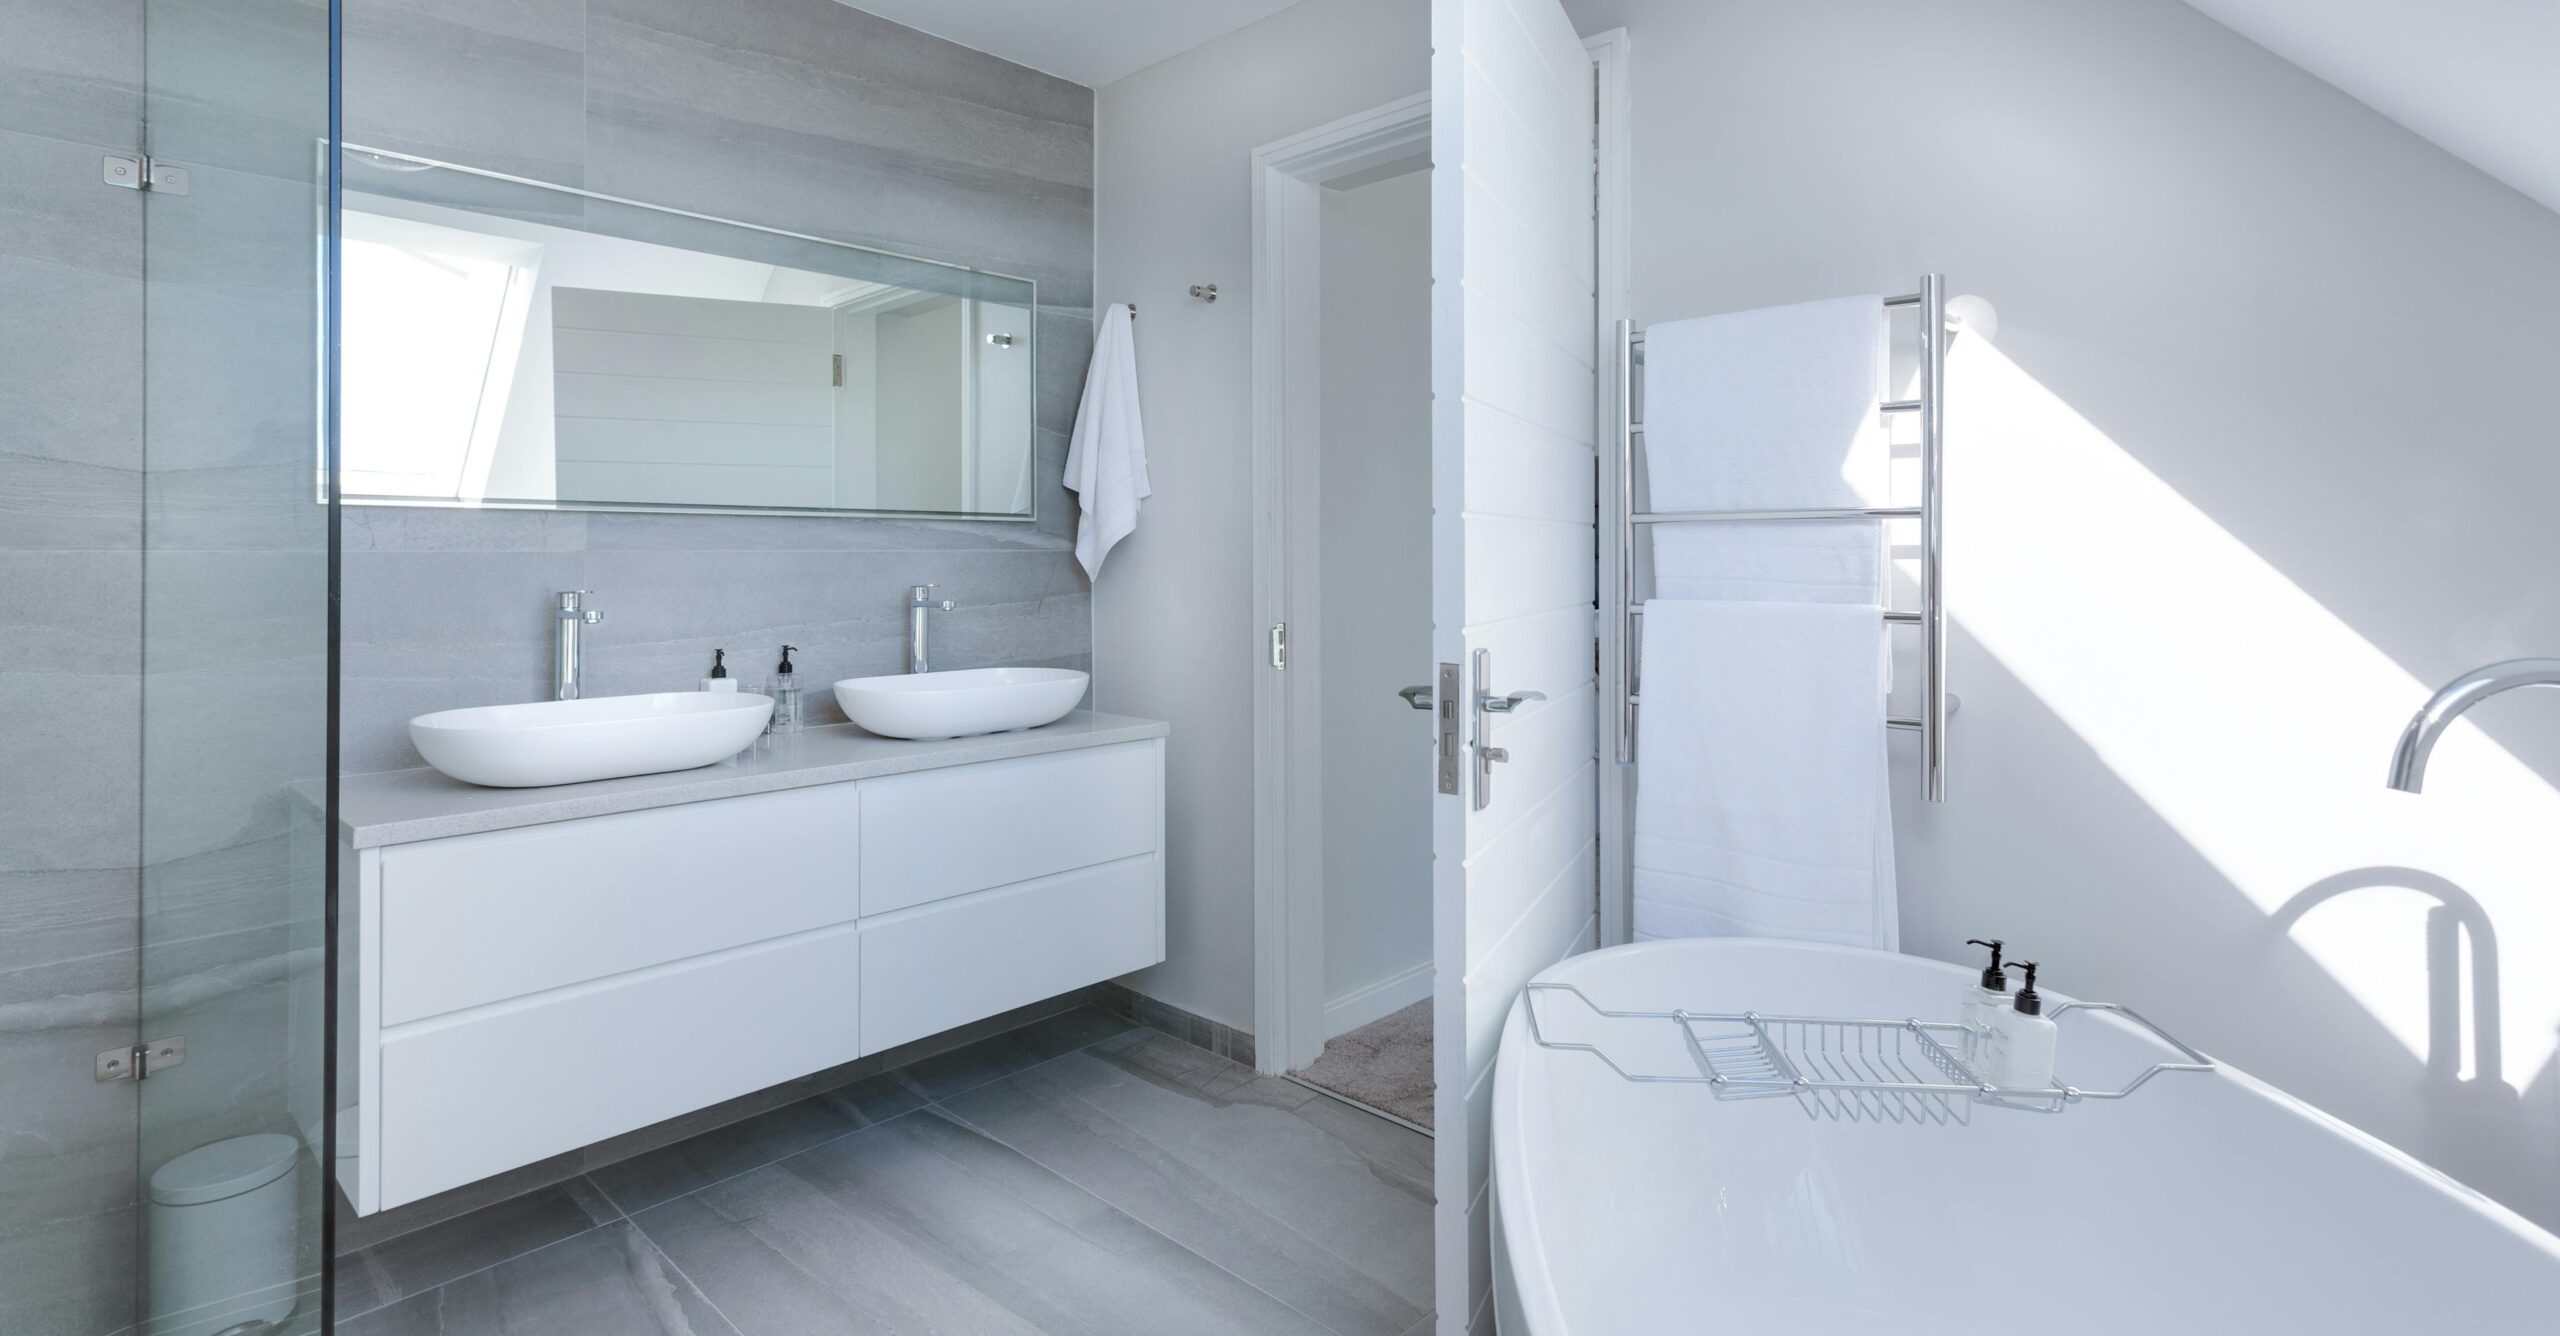
7. The Porcelain Throne (Middle Zone)
When it comes to the bathroom, we all dread the same thing. Might as well get it over with first. Sure enough, we’re talking about the toilet. Begin by putting on those rubber gloves. Experts suggest it is best to start with a spray of toilet cleaner that covers the basin all the way up to under the rim. Leave that product to disinfect the bowl for about 15 minutes.
Meanwhile, you can use a sanitizing product and paper towels to wipe down the rest of the toilet. Include the base, the seat and area under the seat, the outside of the tank and the floor around the stool. Use the rest of the time for the other zones in your bathroom, then get back to the bowl with a scrub and a flush.
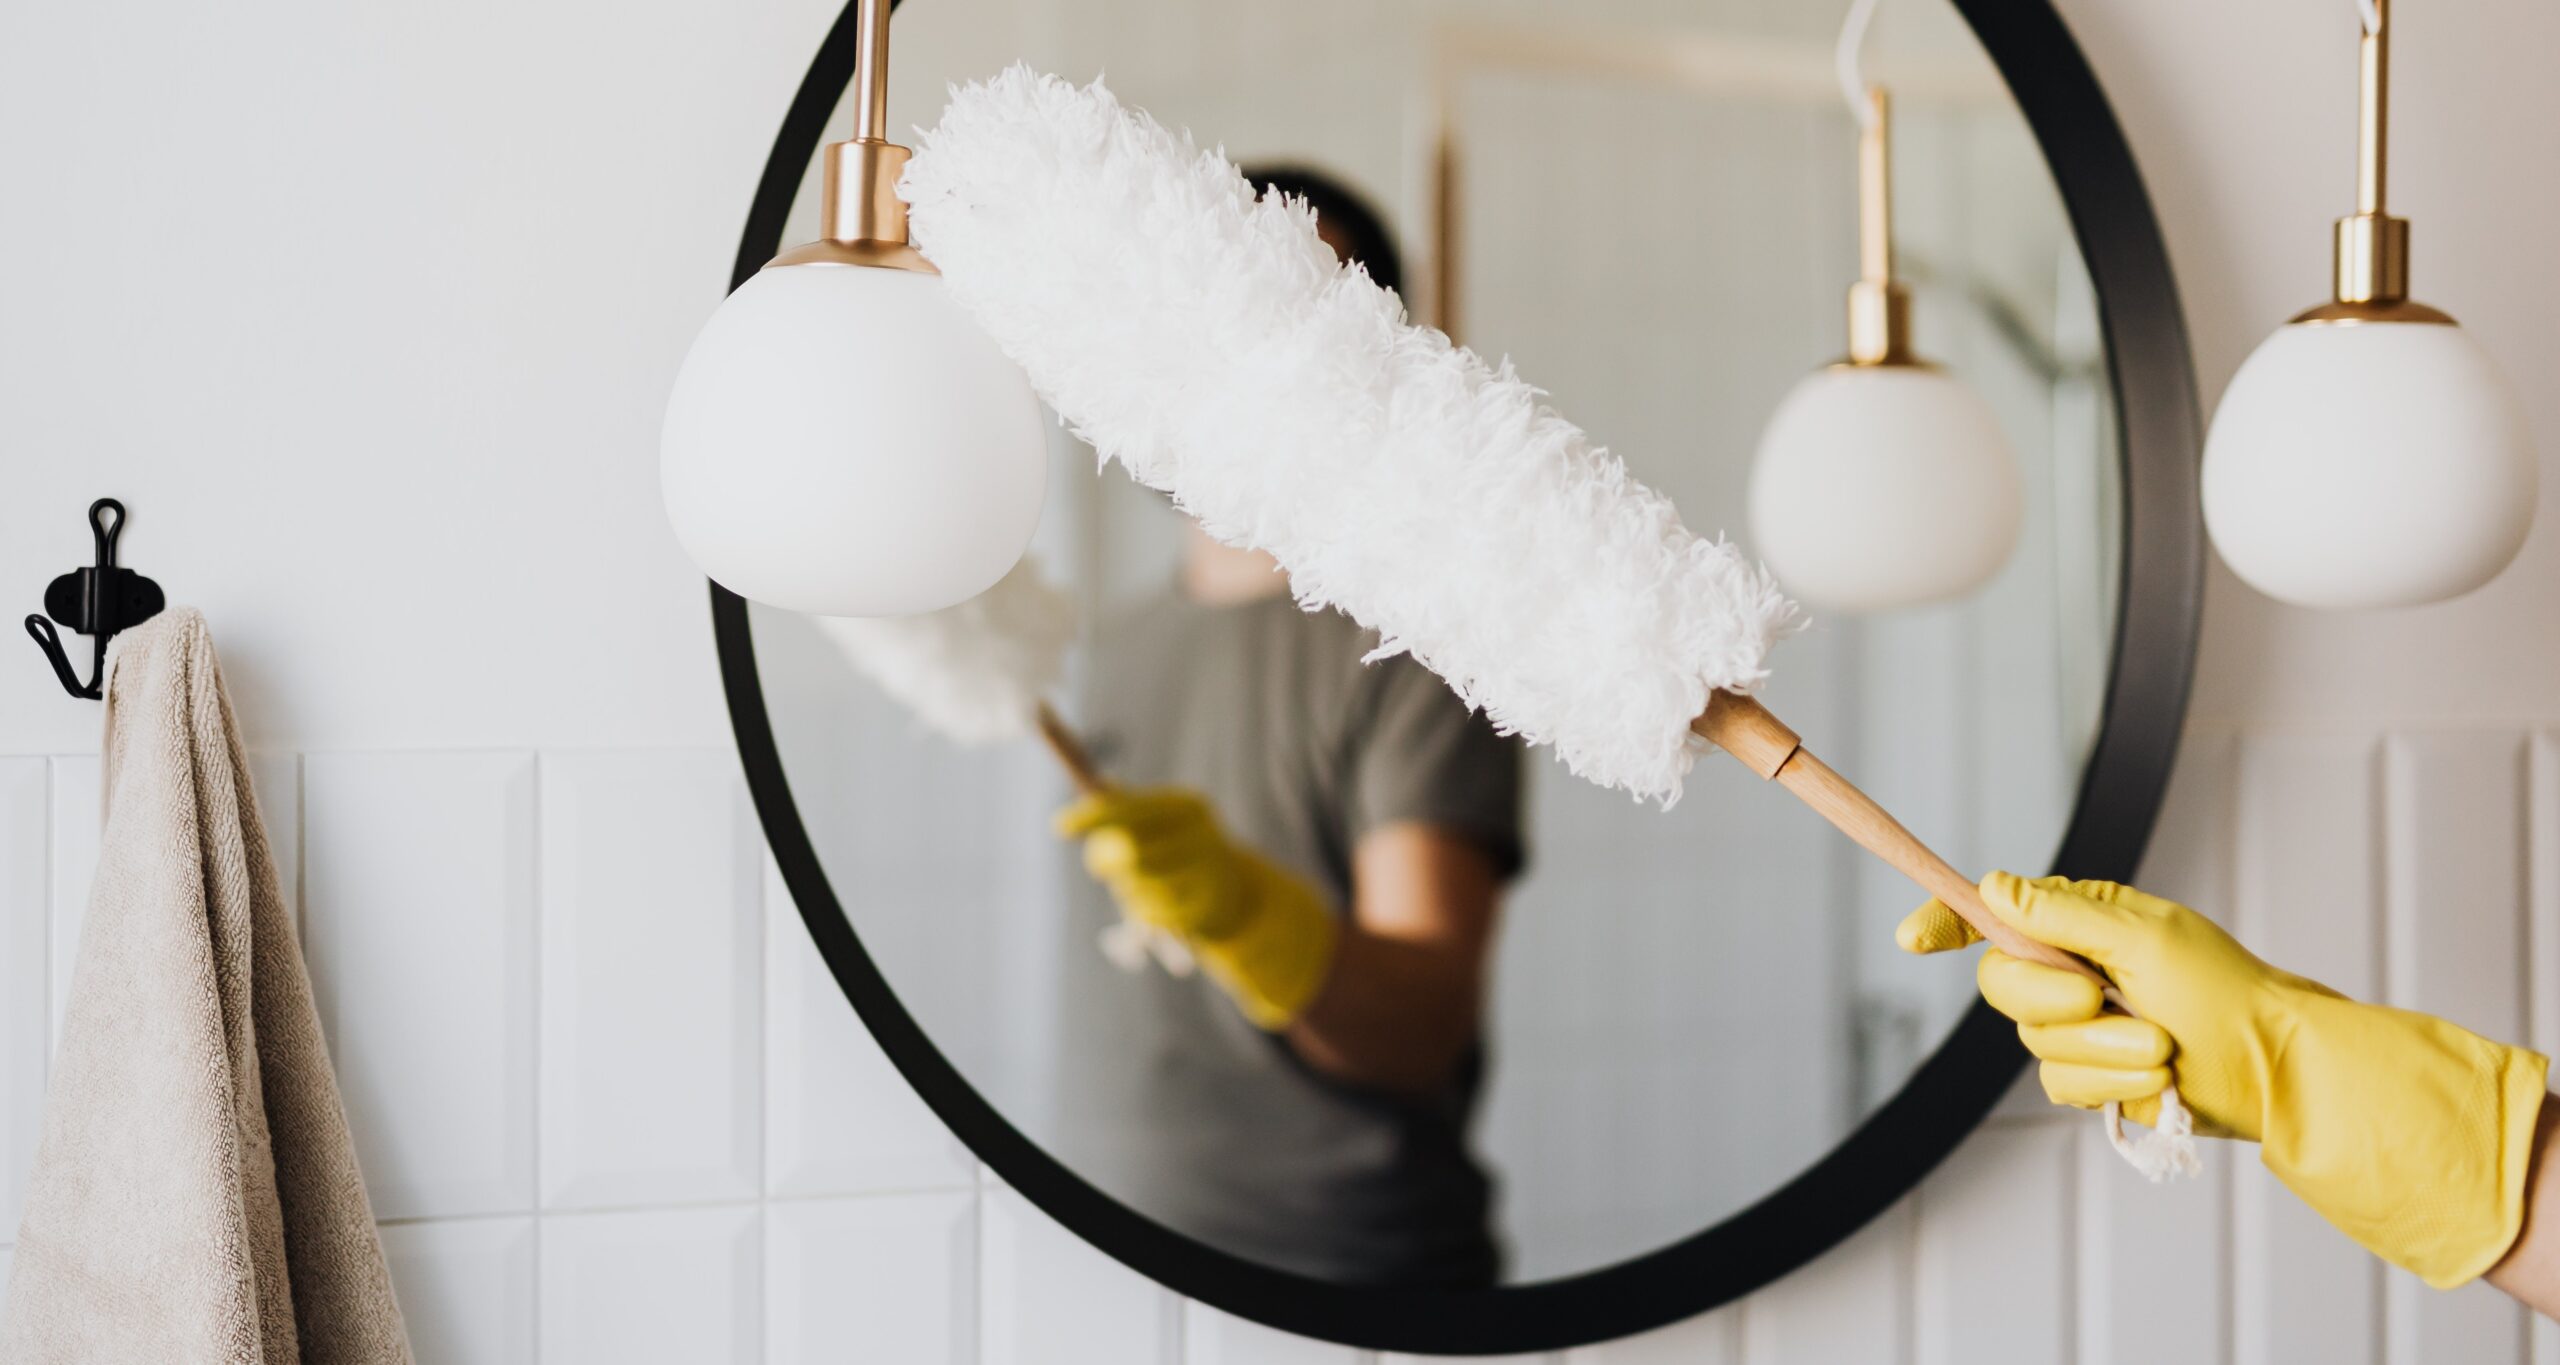
8. Extend Your Reach (Top Zone)
Use a step stool and duster to reach the corners of your bathroom ceiling and the light fixtures. Replace broken bulbs. Take a peek at the exhaust fan – it may need a dusting too, to guarantee prime functionality. Use glass cleaner for the mirror, the shower splash guard and any windows. You’ll maximize light while you disinfect. Distilled white vinegar will remove build-up and soap scum from a sputtering showerhead. This is especially important if you have hard water.
While you are “in the neighborhood,” peek under the sink and into the linen closet. These clutter zones usually benefit from a little culling. Lastly, given that it is a mold magnet, spray and wash down your shower liner curtain or else replace it altogether.
9. Wet Area Focus (Middle Zone)
Any part of the home exposed to moisture on the regular needs special attention. The bathroom is essentially one big wet zone. Start with the bath or shower surround. Look for discoloration around tile or anywhere two surfaces meet, like the tub edge or the area around the drain. Any pink, green or black substance you see is almost certainly a mold. Scrub it away and keep an eye out for a short-term recurrence. If the problem is around the drain or shower floor, you may have a water incursion problem. That’s not something a simple cleaning can fix.
If you have marble, granite or quartz vanity toppers or shower surfaces, beware of using products that may etch or cloud them. Spend extra time wiping around sink fixtures and cabinet fronts. Is your drain running slowly? There are great natural de-clogging agents to help break down hair and grunge, but nothing beats a drain cleaning tool and a little elbow grease. Another aerobic advantage is that your gag reflex may get a good workout when you pull that mystery clog out of your sink or shower trap.

10. Bathroom floors (Bottom Zone)
Let’s briefly visit the two hard-surfaces most likely used for wet-zone floors. Both stone and tile-and-grout remain popular materials for luxury bathrooms and kitchens. These surfaces are often considered bullet-proof. So much so that many homeowners think a quick vacuum or a periodic damp mop are maintenance enough. But neither option gets into those discolored or grimy grout lines.
If you are a dedicated DIY-er, there are plenty of online pointers for cleaning grout. But if you are looking for ideal outcomes (that don’t involve wearing knee-guards or using old toothbrushes) this is a great place to invest in a professional stone or tile cleaning. Let the pros take your hardsurface flooring off the to-do list so you can focus your energies on the rest of the house.
Whole House Spring Cleaning (Middle Zone)

11. Soft Furnishings
When it comes to spring-cleaning your upholstery, we often forget the basic dust that settles in the fibers of that favorite sofa or sectional. Start by vacuuming your soft furnishings using that ingenious upholstery tool. Flip over the cushions to get both sides. Underneath, you may find enough pocket change to buy a candy bar or enough crumbs to feed a small colony of mice. Once the soil is removed, add a quick wipe down. There are simple homemade cleaners that can help freshen your favorite furniture.
Wipe down spots and spills as they happen, using a damp, white cloth and a gentle pressing motion. Before you use any retail-grade cleaning chemicals, know the fiber type of your upholstery fabric and read the fine print. If you are still unsure, call a respected local cleaning company and ask their advice. Local pros want to build a relationship with you and serve you over the long haul. Franchise businesses operate off constant bookings. They would rather risk damaging your belongings and moving on (even if they have to pay a claim after the fact) over taking the time, up front, to walk you through your options.
If your upholstery needs a top-to-bottom refresh, consider the services that only the pros can provide. Rented steamers and commercial detergents are notoriously difficult for everyday people to use. Choose a business with highly trained technicians and the best professional tools and cleaning products. A deep cleaning, every now and then, helps remove spots and stale odors. Remember, deep cleaning always beats the cost and hassle of replacing furniture.

12. High-Touch Surfaces (Middle Zone)
While we’re talking favorite surfaces, don’t forget the high-touch items in your home, starting with smartphones. Clean these devices gently and often. After all, we hold them while we’re eating and while we’re, well, doing everything else. Wall switch plates, door handles (including the one on the fridge) and remote controls are also subject to “constant contact” from hands that may not be clean. A periodic wipe down with a disinfecting wipe or a microfiber cloth paired with warm soapy water or an all-purpose cleaner does wonders. All household electronics have the potential to spread germs so don’t miss laptop keyboards, computor monitors and game consoles.
Spring Cleaning Whole House (Bottom Zone)

13. Time for Air Care
Now that you’ve dusted, it is a great time to clean the air in your home. First, change your HVAC filter. It’s worth spending a little more for a better filter that lasts longer. Filters help remove hair and particulates from pet dander, fireplace soot and other contaminants. What’s more, if you enjoy opening your windows this time of year, remember that dust and pollen are likely to blow in through screens and under doors. Again, a new filter can help clear those unwelcome allergens from your interior environment.
Second, dust your returns. That insures the best possible air flow through your new filter. There is another item in your home that is the largest filter by far. This is your wall to wall carpet. Add inspection of any carpet in your home to your spring cleaning checklist. If you see dark lines along the baseboards, under doorways or around HVAC devices like registers and returns, that is a sign of filtration soiling. It is caused by air flow and interior pollutants and it is a condition that requires specialized cleaning and as quick a response as possible.
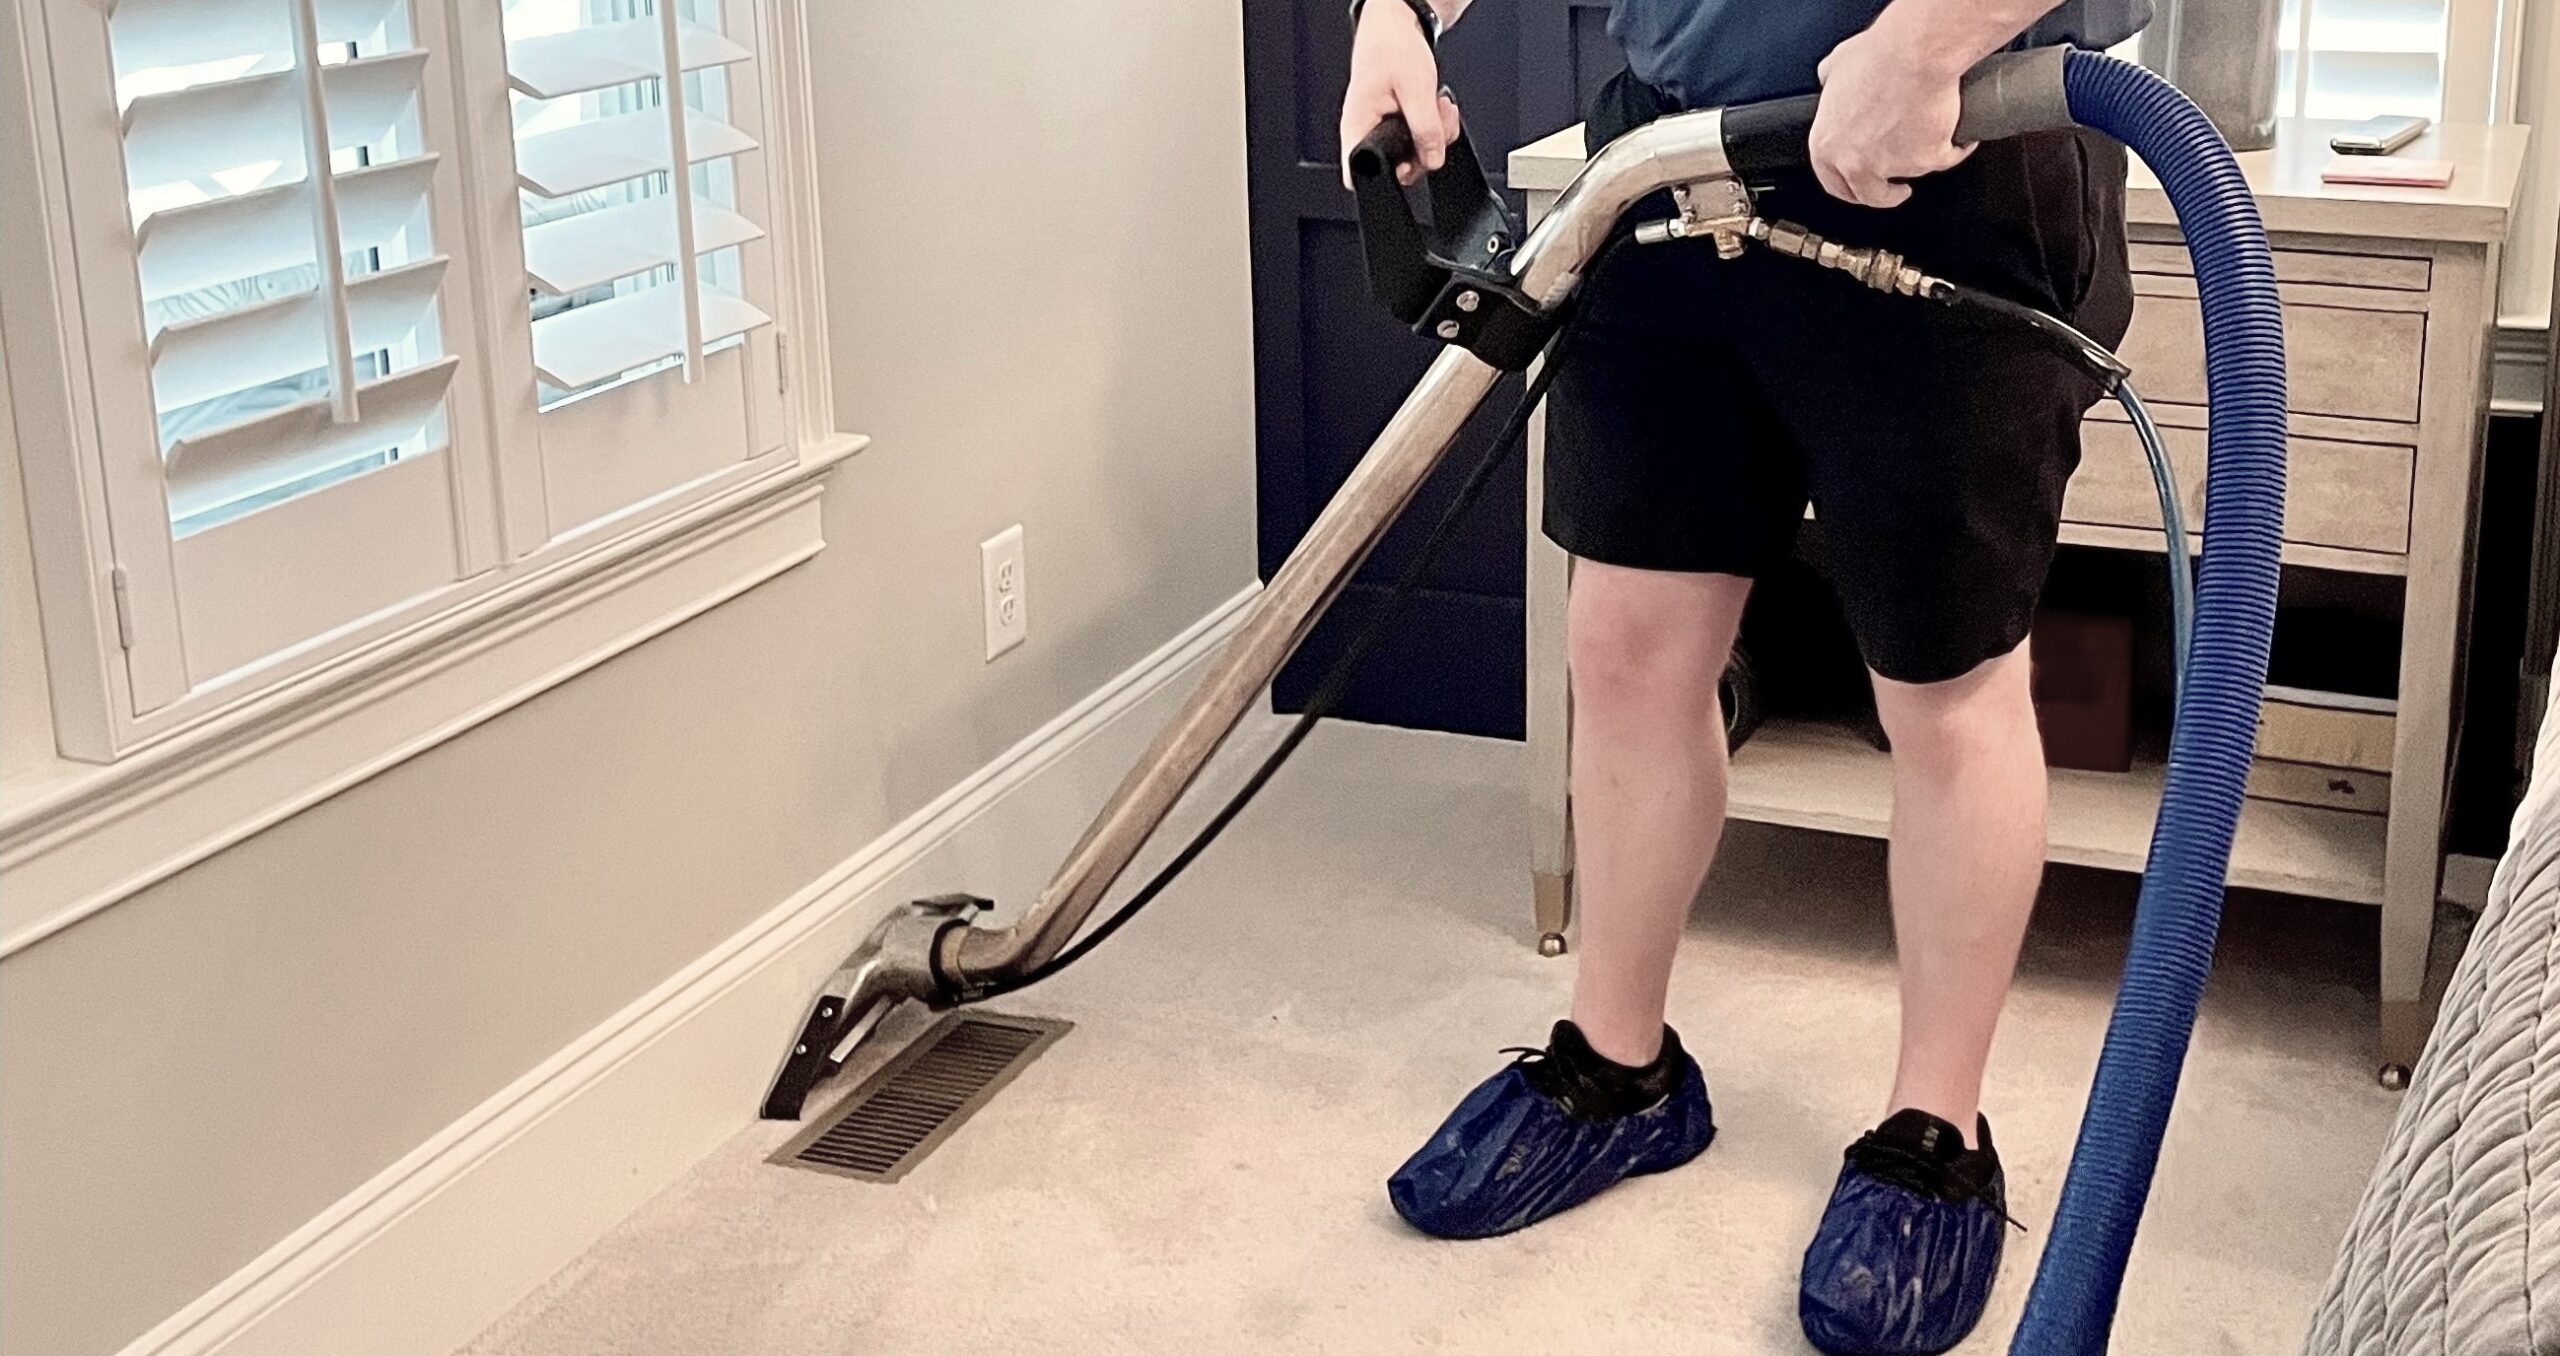
14. Foot Traffic
Carpet gets a lot of heavy wear and tear throughout the year. The friction caused by our shoes, and the soil they leave behind, can lead to abrasion dullness, which is a permanent form of damage. In a perfect world, we vacuum our carpets and rugs a few times a week to remove the soil we track in. Regular vacuuming helps slow abrasion damage. However, once a year it is a really smart investment to schedule a deep cleaning and protection of your carpet. This service makes your year-round vacuuming more effective. What’s more, it preserves the warranty coverage.
A professional cleaning every 12 to 18 months satisfies the carpet manufacturer’s requirements for maintenance. Plus, a periodic hot-water extraction, performed by a certified cleaning company, removes stale smells and pet odor. Voila, cleaner floors and fresher air! So add a professional carpet cleaning to the end of your Spring Cleaning Checklist for a fresh and welcoming home.
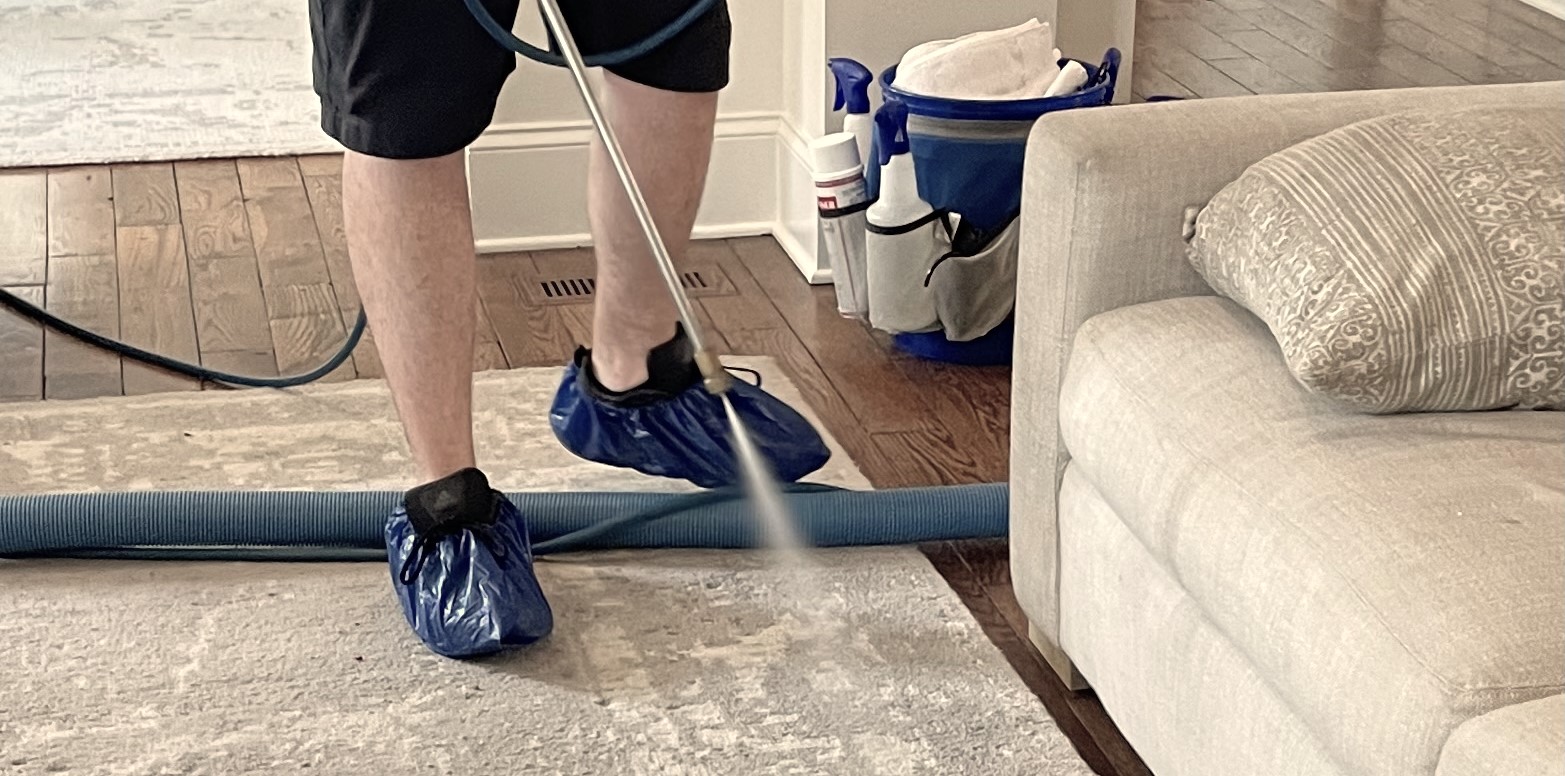
Area rugs are often placed in entries and at the center of family activity, in dining, living and bedrooms. As a result, they tend to sustain a lot of damage, from foot traffic to dropped food, make-up, and crafting supplies. Regular maintenance of area rugs combines gentle vacuuming with spill removal. Remember, many rugs are too fragile for vacuums with beater bars that can snag and pull the fibers.
While there are easy DIY steps for maintaining your rugs year round, Spring is a great time to pay a little extra and get your rugs professionally cleaned. Especially if your household includes beloved pets or other mess-makers, a deep cleaning and protection will help your rugs last longer, smell better, and look newer.
15. How Low can You Go?
Working top to bottom means you have one last category to add to your Spring Cleaning Checklist. Be sure to write in baseboards and floors. Even hardwood, tile, and stone floors deserve attention. But before you use your time and your cleaning efforts to renew these hardy surfaces, take a look at your entry mats. Yup, there’s no use cleaning, sealing or refinishing your floors if the front line of defense is compromised.
Deeply clean or replace the rugs and mats that catch dirt at the door. And while you’re at it, check your front stoop, porch or walkway for sneaky soil and other dreaded intruders like pollen, plant debris, gravel, or mulch. When you prevent these problems from walking into your home, you will cut your cleaning efforts in half. Baseboards and other trim, like stair risers, door and window frames can get smudged and scuffed. Taking a little time to wipe these surfaces will make your home look cleaner in subtle but significant ways.
Spring Clean, Top to Bottom!
And there you have it. A well-thought-out Spring Cleaning Checklist can turn a random list of tasks into a highly effective strategy to freshen and renew your living environment. Do you have to do your Spring Cleaning in the Spring? We say, “Not necessarily.” Some people like to clean in January, as part of a New Year’s refresh. Some people prefer to clean at the end of Summer, when the kids head back to school. Nevertheless, no matter when you clean, the key is to assess the scope of the project and then move methodically, inside to out, and ceiling to floor.

Want a quick recap? Here are the highlights:
- Walk your home and assess the scope of your Spring Cleaning Project
- Gather up the tools and cleaning projects you need so you can hit the ground running
- De-Clutter! Your home will not only feel larger, it will be easier to clean.
- Assess your architecture. Dusting cobwebs from ceilings, wiping windows and trim, cleaning light fixtures and fans all get you off to a great start.
- Prioritize your kitchen and break down tasks into easy categories – storage, wet zones, and appliances require targeted cleaning regimens.
- Hold your nose and whip that bathroom into shape – the toilet, storage, sink and fixtures, showers, baths and floors all need specialized care.
- Dust-bust your upholstery with regular vacuuming and wipe downs but save up for a professional cleaning and protection application come springtime.
- Tackle high-touch surfaces like light switches and door handles and electronics like smart phones, remote controls, and computers with all purpose cleaning supplies.
- Replace HVAC filters and clean returns to be sure that dust, debris, pet dander and pollen don’t get re-circulated. Look for signs of filtration soiling.
- Keep up your regular vacuuming routine to protect carpet from traffic damage then schedule that annual warranty-based cleaning with certified pros.
- Don’t forget your area rug care. Some cleaning can be handled DIY but deep cleaning is best handled by a professional company.
- All types of flooring benefits from dusting and vacuuming. Wood, Stone and Tile floors require special protocols. Hire cleaners with great local reviews
- Clean or replace entry mats and clear access points to your home. Sweep walkways, porches, or stoops to clear dirt, plant matter, soil and mulch.
A Few Last Thoughts
Is our list exhaustive? No, but it is a great start. For more resources on Spring Cleaning in your home, enjoy Martha Stewart’s To-Do List. If you are a cleaning machine, there are play-by-play plans that break the process down to forty steps or more. Just don’t let yourself get overwhelmed. Choose the plan that works best for you. Don’t rush – slow and steady wins the race. Finally, be sure to vet an expert to help you with the professional side of cleaning. If you live in the Nashville, Tennessee area, we hope you’ll give Pro-Care a call. We offer carpet, area rug and upholstery cleaning and protection, as well as stone and tile-and-grout floor cleaning and sealing.